
I’ve wanted to make this colossal sprinkler system for my kids ever since I saw it a couple of years ago. But it’s always been one of those “I need tools for that, crud” thing so I’ve put it off. Plus I thought that it would cost a ton of money to make and inevitably, I’d mess it up and then waste all that money. So, as you can see, I’ve talked myself out of it. But then I saw this post over on The 5th Brick House On The Right and she listed what she paid for the materials. Well, shoot. It was totally affordable so I only had the thing about tools holding me back.
Then I hit this “boo-ya, I can totally do that” phase this summer and I knew I had to make it. And it wasn’t as difficult as I had always thought. (Thank goodness!)
Here’s what you’ll need:
- 6 pieces of PVC pipe 5 feet long
- 9 pieces of PVC pipe 40 inches long
- 2 pieces of PVC pipe 19 inches long
- 4 elbows
- 5 T’s
- 4 3-way 90 degree elbows
- a PVC pipe to hose connector
- misters (at the hardware store in town they come in a package of 5)
- drill
The hardware store in town cut all the pipe for me so I didn’t have to invest in a PVC pipe cutter or a saw. (Yeah for employees who are helpful!!!)
All of these materials were less that $30!
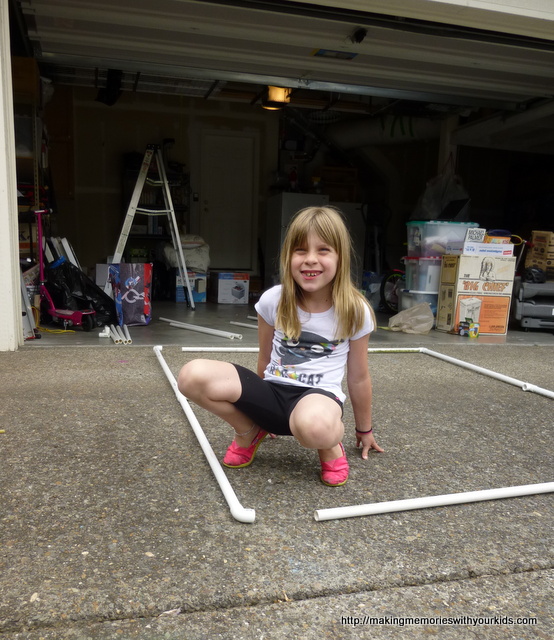
Lay all of your materials out.

You can buy an adhesive to bond the pipes permanently but I wanted to be able to take this apart. As much as I love not being able to park in my garage, I… no wait… I hate not being able to not park in my garage. So I wanted this apart for the winter!
We drilled small holes in the PVC pipe where we wanted water to spray out. Doing this with just a drill is next to impossible. Even with the smallest drill bit we had, the holes were too big and ended up looking like this.
So we drilled holes in the pipes that were the size of the small misters. Insert the misters and you’re good to go.

If you made the holes too bog and don’t seal in the misters, they shoot about 10 feet across the driveway and look like this. Oops.

So we did end up sealing the misters in the holes with a bonding compound. I’m thinking Gorilla Glue could have worked too if we wanted to wait 24 hours to use it.
It’s pretty easy to assemble. My daughter loved helping me!
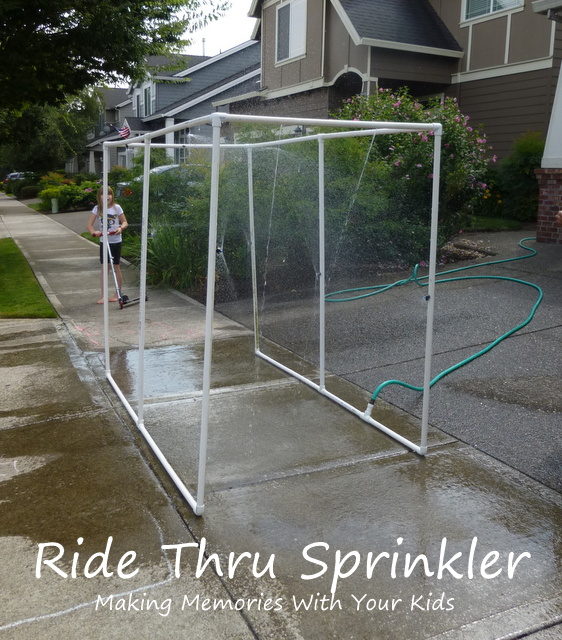
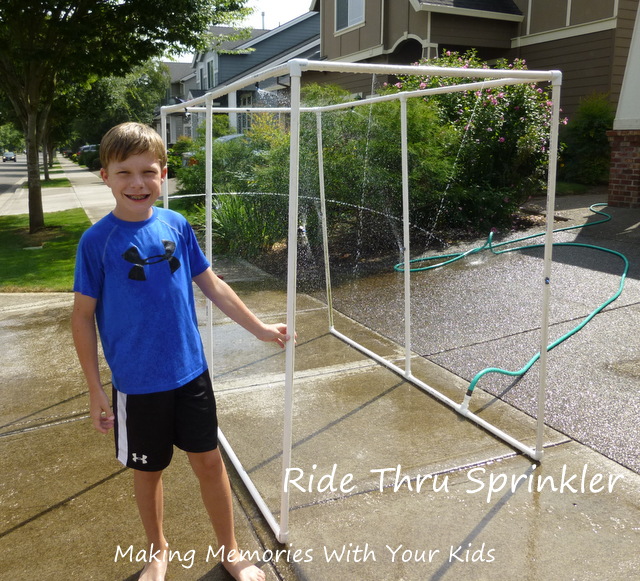
The “car wash” is 5 feet tall and 40 inches wide.
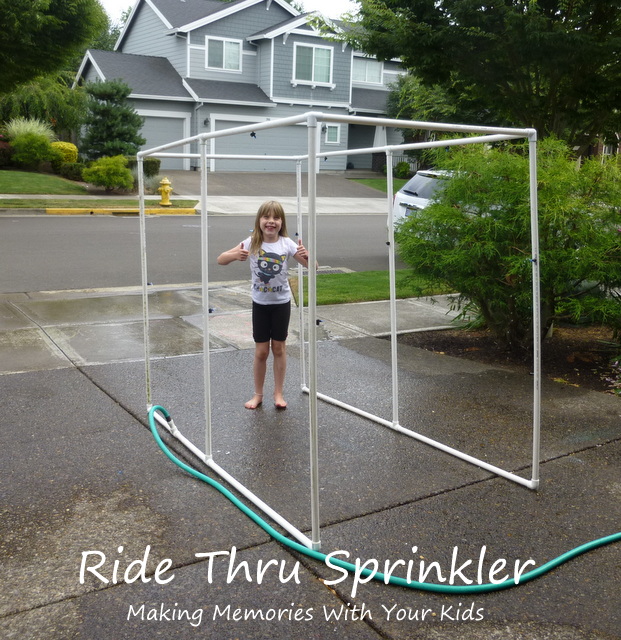
The two smaller PVC pipes are where you are going to connect the host connector thingy. (I’m pretty sure that’s the technical term used.)

Now this little part is important. If you are not going to glue the pipes together, make sure that when you turn on the water, you turn it on just a little bit and let the pipes fill with water. Otherwise, you could be standing next to it trying to see how it’s going to look while your daughter turns it on (full blast) and the pipes could all explode apart and you could be drenched before you even know what happened. Just sayin’.
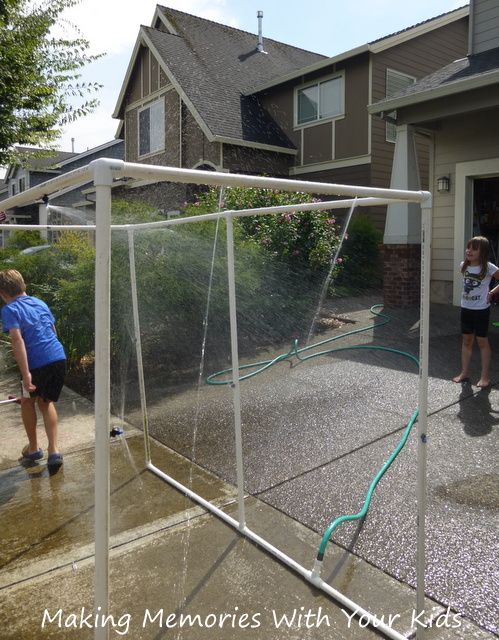
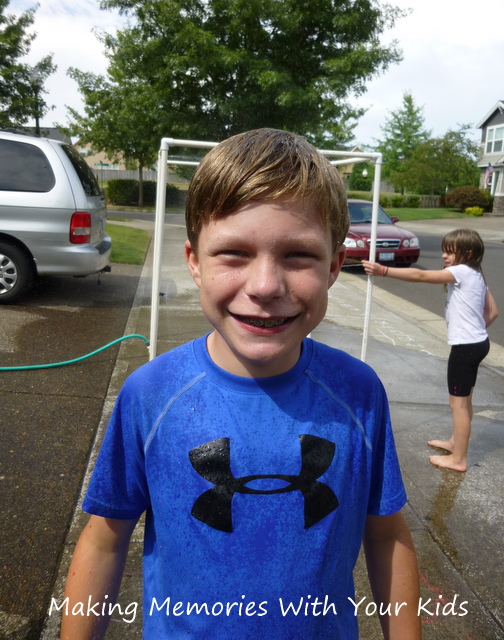
The kids loved it!
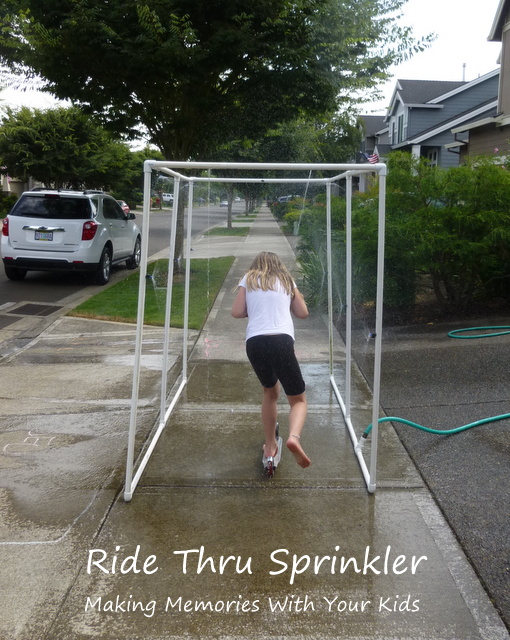
Because there’s no cross bar on the bottom, the kids can ride their bikes or scooters through it.
Or run though it.
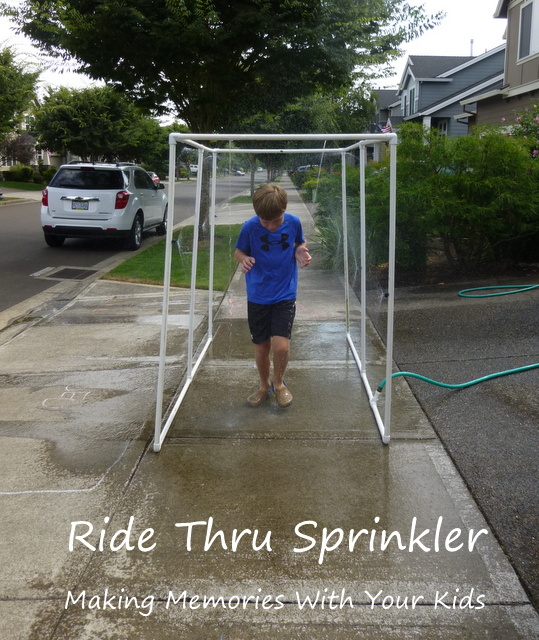
Or stand in the middle of it.

Totally worth the $30, right?!?!


What a fantastic post, Erin. A car wash for kids…how perfect is that…and a great way to cool off on hot days. I bet the kids had a great time playing in it.
This looks like so much fun! I really want to make this now 🙂
Looks like your kids loved it. Some day when we aren’t living in an apartment, I will have to try this.
Living in a dry state, would use it on the grass to fulfill two purposes.
Thanks for sharing it.
I love this, thanks for the “how to” post! We had a Slip and Slide when I was a Kid, but this is a great idea!
I agree, great how to post! Inexpensive, and fun. What a fun thing for the kids to do especially with how hot it’s been!
This is amazing. Has me smile just looking at it and worth way more than the $30. Just seeing the kids faces and imagining the laughing. Great post with the instructions and showing us the different steps. This is a great home project and idea. I hope you got it in, too!
My 3 yr old would love this. While have to get the hubs to make one. Thanks
This is such a cute idea! Something my husband would love making and something the kids would love playing in 🙂 Thanks for sharing at Mix it up Monday!
To Cool! Your kids will so remember this memory, it makes me smile, I can imagine them telling their kids.. It stinks where I live because we have no sidewalks… I think it is crazy.. Very unsafe that we don’t! But very cute idea.
This is awesome!! My kids would adore this!!
Okay, this is going on my to do list. When it will get done, well that is a whole other story! lol
How fun!! Pinning this for next summer. Thanks for sharing!! 🙂
Katie
Very fun!! Thank you for sharing at Sharing Saturday!
I LOVE this! My 3 kids will too! Thank you So much for the instructions! =)