
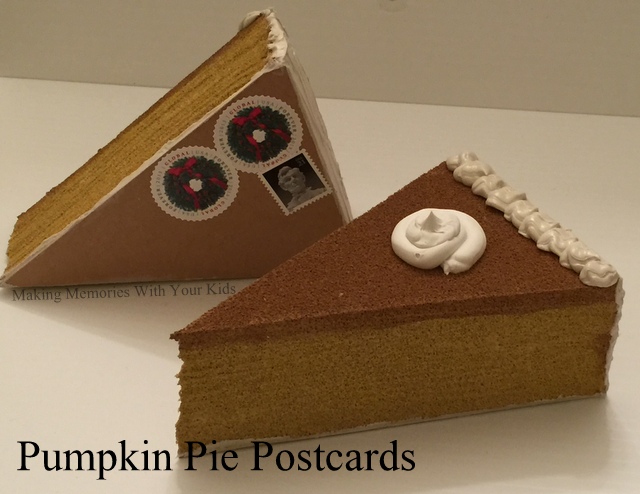
Nothing says Thanksgiving like pumpkin pie. And what better way to say Happy Thanksgiving than with a Pumpkin Pie Postcard?

It may seem like a lot of steps to make these but they are totally worth it. They are adorably awesome and such a fun thing to get in the mail.
What you’ll need:
Upholstery Foam (1 1/2″ foam would be best. I used 2″ and I think it’s a bit too thick.)
Cardboard or cream colored mat
Yellow Ochre craft paint (for the sides of the pie)
Honey brown craft paint for the top of the pie
Almond or biscuit colored wall caulk
White tub and wall caulk
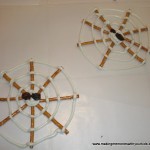
Cut your mat into 4″ x 6″ pieces. Then cut into a pie shape.
Using a serrated knife, cut your upholstery foam in the same shape as your mat board.
Paint the sides of the foam slice yellow ochre. Paint the top a slightly darker version of the sides. I used honey brown, but you can also just mix some brown into your yellow ochre to give you a deeper “baked” pumpkin pie color.
Lightly brush some of the darker paint over the top edges of the yellow-ochre sides to give it the effect of a cooked slice of pie.

Allow your painted slice of pumpkin pie to dry overnight. Outline the reverse side edge of the mat board triangle with almond wall caulk. Squeeze more caulk down the center of the foam triangle. Attach the mat board triangle to the painted foam piece and smooth out the caulking on the edges with your finger, forming a seal between the mat board and foam. Allow this to dry at least an hour.

To make the crust, squeeze lines of caulk onto the back edge of the foam triangle and smooth with your finger, again forming a seal between the foam and mat board.


Squeeze a zigzag pattern of caulk along the top back edge to make a finished pie crust.
If desired, squeeze a dollop of white wall caulk on top for whipped cream.

Allow your slice of pie to dry for three to five days (depends on how thick you applied your caulk).

Postage for our slices of pie was $2.53 (not too bad for a super cool card.) Attach to the cardboard and write the address and a short message and mail.
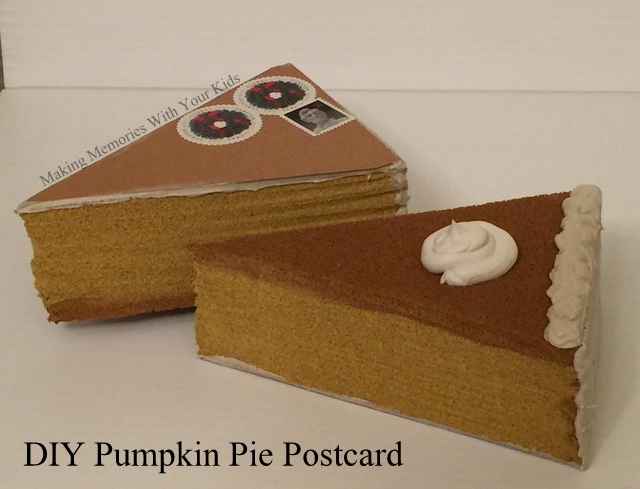
What do you think? Do they look like a slice of pumpkin pie?

If you’re looking for other fun mail ideas, you can see what else we’ve made HERE.
Thank you to She Knows for this amazing idea and tutorial.


This recipe looks so delicious! Hi, I’m Anita visiting from Wow Me Wednesday.
Ha! I hope no one tries to eat it!
Sooooooo cute! Do you have an electric knife? They are amazing for cutting foam, and are usually on sale this time of year.
Thanks! I don’t but I’m not going to go get one. I never even thought of that! Thanks!